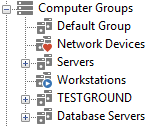
Computers can be added to a group in a number of ways:
•Manually
•Imported from a text file
•Imported from the Network Neighborhood
•Imported from a network scan
•Imported from Active Directory
•Linked to an Active Directory OU or group
Right-click a group and select "Add Computer / IP Address ...". If EventSentry is configured to prompt you for an IP address when adding computers (Tools -> Options -> Remote Update) then you will be presented with the following dialog:
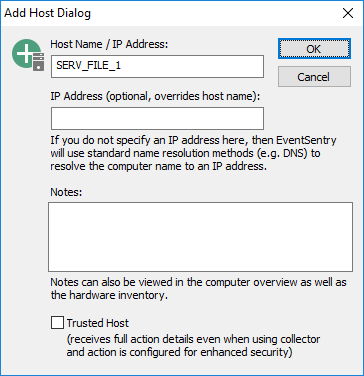
If you specify an IP address in the "IP Address (optional)" on this dialog, then EventSentry will add the host name to the group container, but always connect to the IP address of the remote host instead of connecting using the host name. If you rather work with IP addresses then you can also just enter the IP address in the "Computername / IP Address" field.
If EventSentry is not configured to prompt you for an IP address, then you will be prompted to enter the host name or IP address.
Notes
You may also enter notes for a computer which will be visible under "Inventory - Computer" in the web reports.
Trusted hosts receive full action details (e.g. database connection string) even when an action is configured for enhanced security. A host should be configured as a trusted host when:
•A collector is enabled and in use
•An action is configured for enhanced security
•The host is either running the Heartbeat service, the Network Services service or any other EventSentry utility (e.g. Database Import, Purge Utility) which requires a full details of a specific action.
|
It is recommended that you do not use FQDN names when adding computers that are not joined to an Active Directory domain. Otherwise, problems with package assignments might occur. |

Importing
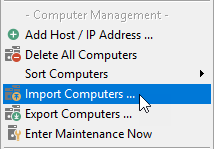
To start the import process, right-click a group container and select "Import Computers ...".
|
|
This will start the Import Wizard as shown below. Select an Import type and click Next.
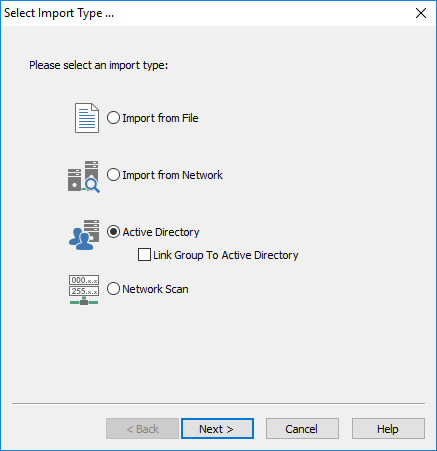
Click on the links below for more information on a particular import type:
•Import from a Text File
•Import from the Network Neighborhood
•Import from Active Directory
•Link to Active Directory