Setting up the EventSentry Web Reports with IIS 6.0
Configuring IIS (Step 3 of 6)
Setting up a Virtual Directory
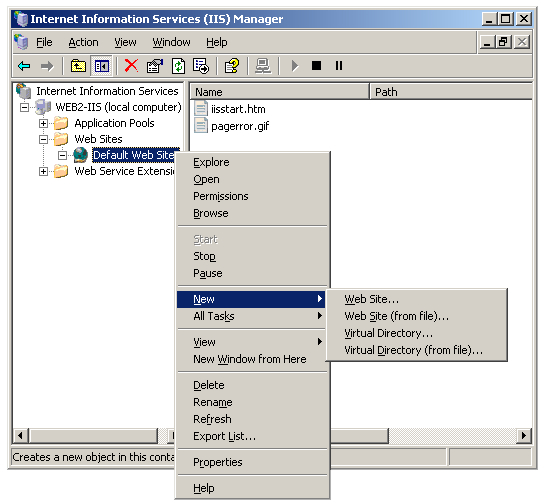
Since we left the web files in the EventSentry installation folder, we can create a Virtual Directory that will point IIS to the ASP files. To do this, launch IIS, right click "Default Web Site" and select New > Virtual Directory.
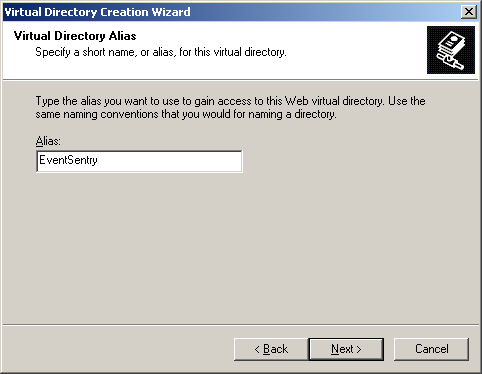
We will use EventSentry as the alias since it is easy to remember.
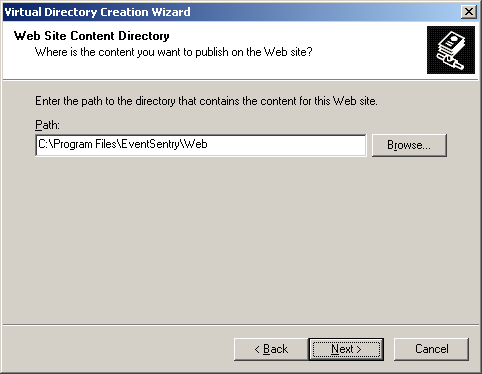
Then we will point the Virtual Directory to the location of our ASP files (the Web folder).
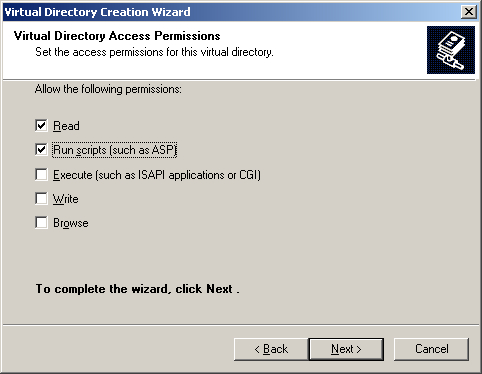
We will allow Read and Run Script permission so the web pages can retrieve information from the database.
In order to use the EventSentry Web Reports, you must have the ASP component installed with IIS (the ASP component is not installed by default with Windows Server 2003). If you do not have the component installed then follow the instructions in our knowledge base article.
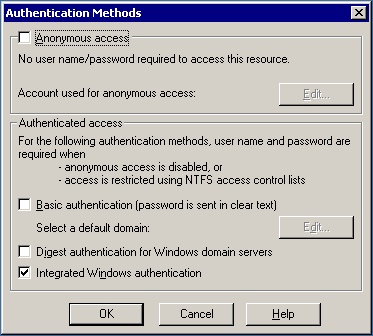
After the wizard has completed the setup of the virtual directory we will need to make sure that the Authentication Methods are configured correctly. Locate the EventSentry virtual directory that was just created in the left pane, right-click it and select Properties. Then, select the Directory Security tab and click the Edit ... button.
On the resulting screen, make sure that Anonymous Access is disabled. If you are planning on using a browser other than Internet Explorer, than you might also have to check the Basic Authentication check box. The recommended settings are shown below.
- Updated on: 2013-05-16
- Skill Level: Beginner
- LEFT/RIGHT arrow keys for navigation