Slack is a flexible, web-based messaging app for teams which supports multiple (mobile) platforms with the goal of streamlining communication and collaboration. In some ways, Slack feels like a combination of Hipchat, IRC and Dropbox (you can also send alerts to Hipchat from EventSentry).
By creating channels (e.g. chat rooms) and also allowing for direct 1:1 communication, interacting with your team is straightforward and easy. What’s more, you can send 3rd party feeds such as Twitter notifications directly into a channel, giving you the ability to see data from multiple sources in one central location.
Slack naturally lends itself to receiving EventSentry notifications with its web-based API. And, since you can create multiple channels, it’s easy to divert EventSentry alerts into different channels, e.g. #alerts-windows and #alerts-development.
Since Slack offers native clients (e.g. Windows, MacOSX) in addition to their web-based site, you can choose to opt in to receive a visual notification every time an alert is received by Slack.
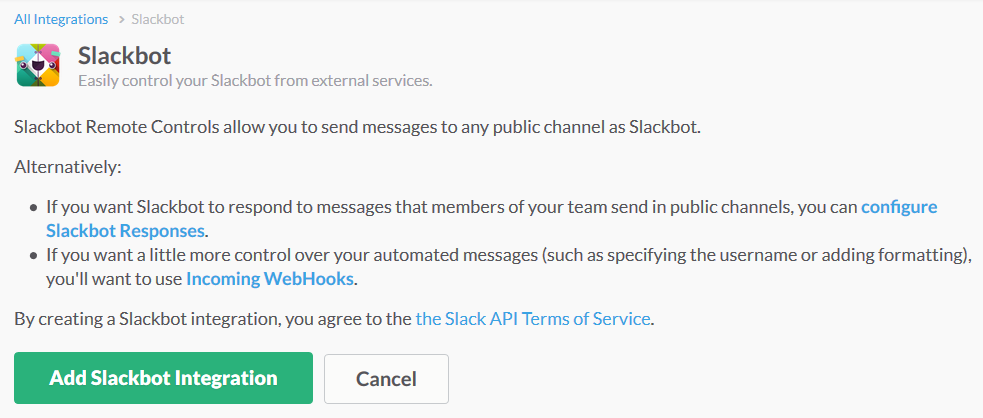
If you’re not already using Slack, then you can sign up for free at http://slack.com and see for yourself whether this is a communication platform you will want to use. If you already use Slack, then you will just need to make sure that the “slackbot remote integration” is setup. You can find information on how to enable this integration here: https://api.slack.com/slackbot.
Once the Slackbot Remote Control integration is configured in Slack, follow these steps within the EventSentry Management Console using the slackbot URL provided by Slack to set up an HTTP action. The HTTP action will be triggered by one or more filters in an event log package to submit events/alerts to Slack.
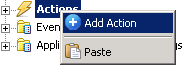
1. Add a new action
In the left pane right click “Actions” and select “Add Action”
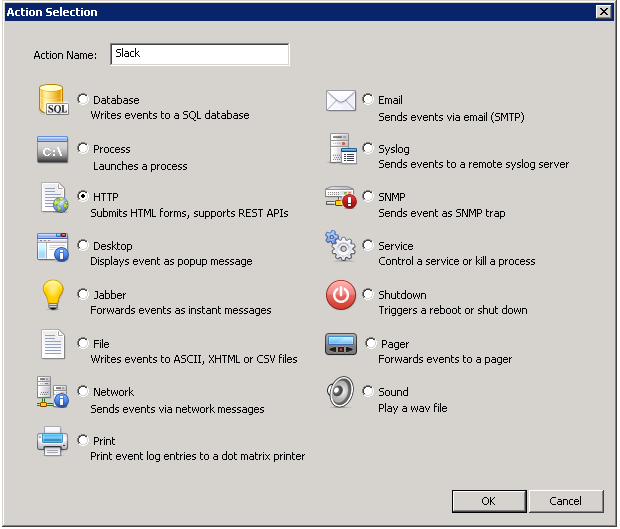
2. Selecting the correct action type
On the “Action Selection” screen type your name for the new action (Ex: Slack), select “HTTP” and then press OK
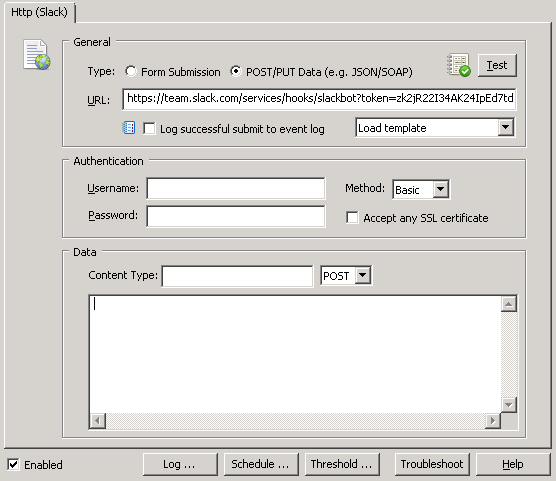
3. Configuring the HTTP action
In the right pane you should now see the settings for your new Slack action, update the URL field with the slackbot URL provided by Slack. If you did not specify a channel in your url after the token add “&channel=%23” followed by the name of your channel.
Example: https://team.slack.com/services/hooks/slackbot?token=zk2jR22I34AK24IpEd7tdyroGt&channel=%23es-alerts
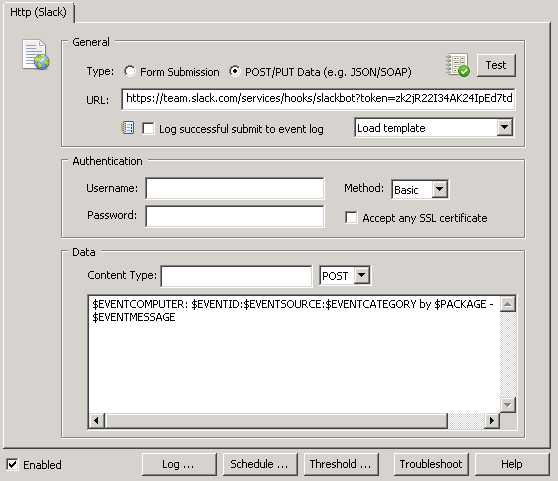
4. Configuring the data to submit
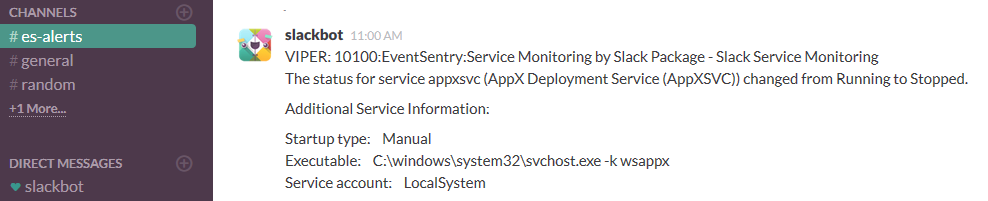
In the right pane configure the Data you’d like slackbot to post to the channel, the following is suggested for basic information:
$EVENTCOMPUTER: $EVENTID:$EVENTSOURCE:$EVENTCATEGORY by $PACKAGE - $FILTER
 $EVENTMESSAGE
Additional variables can be found in our documentation.
Once the action is configured click “Test” and you should see the test message in Slack.
5. Finishing up
You can now apply the action to any existing or new packages and filters. To learn more about filters review the documentation or walk through this tutorial.
Save the EventSentry configuration and push the configuration to the remote hosts.
Done!